Understanding The UK Disposable Vape Ban
In a significant move aimed at curbing youth vaping (and environmental concerns) the UK has recently taken steps towards implementing a ban on disposable vape
In a significant move aimed at curbing youth vaping (and environmental concerns) the UK has recently taken steps towards implementing a ban on disposable vape
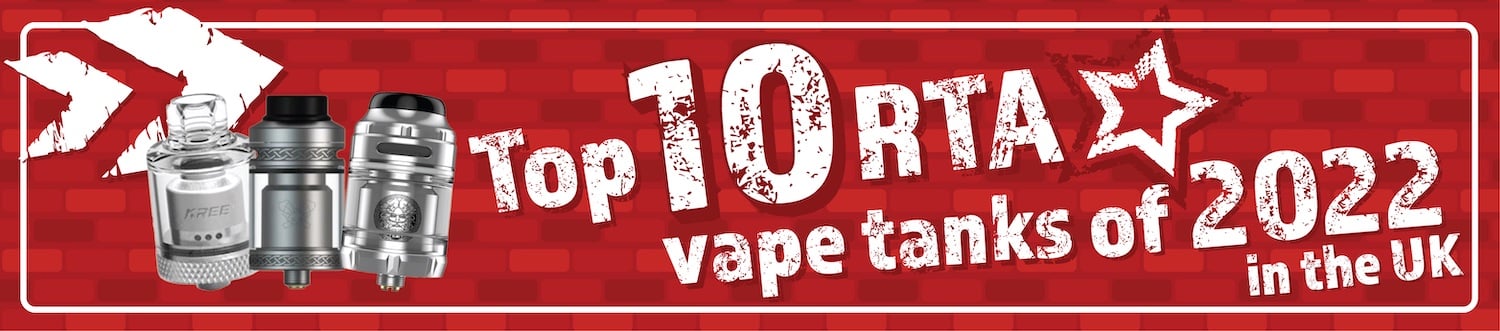
How do you find the Best RTA Vape Tanks when the vaping world is growing bigger and better with every passing day. Manufacturers seem to

Vape Pod Kits had a major increase in popularity last year. Some of the best pod vape devices are hitting the shelves. Those that were

The vaping boom of the past years brought many new vape flavours. And with it, a lot of new E Liquid brands. Some great and
There is no doubt that disposable vapes are popular. There’s no denying that they can be effective for people trying to quit smoking. But there

Looking for the best salt nice juice and don’t know where to start? Well first we need to explain what salt nic vapes are. Nicotine

There’s a huge number of people in the UK who are trying to quit smoking. Many turn to vaping to aid their chances of quitting
Strawberry E Liquids are one of the most popular flavours to vape, whether you’re a new vapour or you’ve been vaping since the dawn of

With the rising prices we are all paying, from petrol to the weekly food shop, more people are turning to making their own e liquid

By now, we all know that dreaded feeling – going to hit your vape and tasting nothing but the flames of hell, no flavour and